Ispirer Website
Ispirer Toolkit Overview
Free Trial
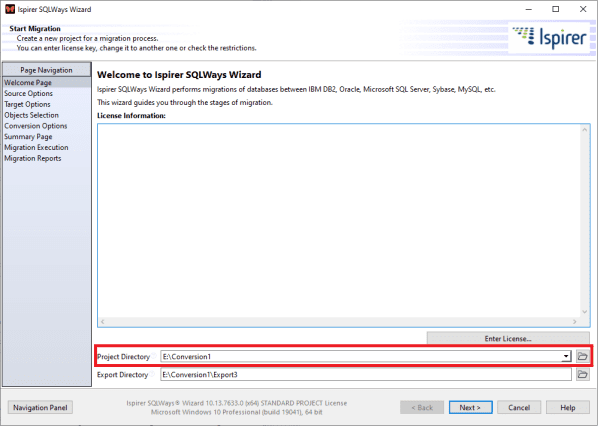
SQLWays Legacy: Project Directory
If you want to run a successful migration project, you need to understand how the project directory works. Most beginners skip this setting, but it is crucial to understand it before start working with it. Migration Project is a folder that stores all information about the current migration process: source and target database parameters, list of the objects selected for conversion, all settings that you changed before conversion (including mappings of names and types) and status of conversion for all objects in case of restarting the tool for existing project. The information is stored in 3 files - the sqlways_db.ini settings file, the project file - sqlways.xml and the file of statuses - sqlways_db.json, which are stored in the project directory.
Most migration projects cannot be carried out by converting the entire scope once. Sometimes, it is necessary to reconvert objects several times, separate scopes, or test different scenarios.
Using different project directories for various scopes/processes can significantly reduce the time for setting up the tool/specifying credentials/selecting objects. For example, in the first project directory you want to convert one set of objects, in the second - another. If you specify different project directories, you can switch between projects by selecting the appropriate project directory, and the tool will automatically pull up all the information about the current project. You do not have to reselect objects for conversion, specify connections or specify options one more time. All of this will already be installed. It is also better to use a separate directory for testing. In this case, you won't overwrite the results or mess up the already selected list of objects and options.
Thus, to change the migration project you can:
- Open an existing migration project via drop-down list or by clicking the “Open” button .
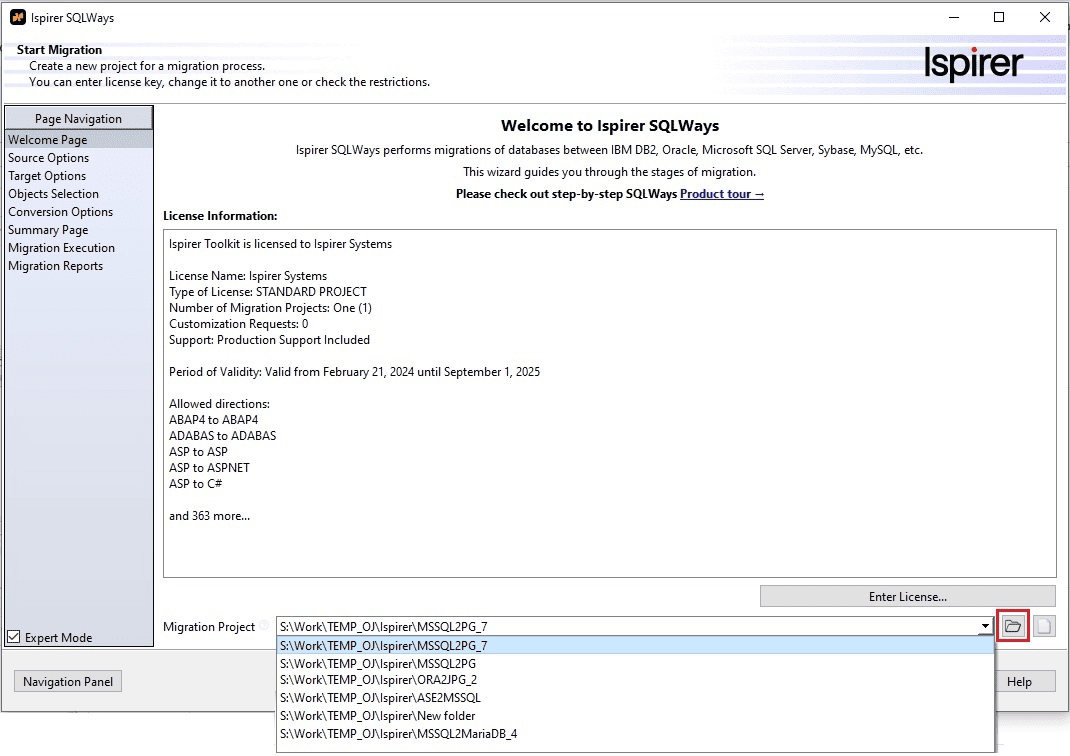
- Create a new migration project from scratch or clone an existing migration project directory as follows:
Click the “New” button on the Welcome page:

In the “Create new Migration Project” window that opens, set up a new Migration Project directory (by default, the current migration project directory name is displayed) either manually or by clicking the “Browse” button.
A new migration project will be created with default settings. If you want to clone any existing project with object scope and conversion settings, check the “Copy Settings from Project” checkbox and select the project to copy.

Related Topics
If you have any questions or face any difficulties, please contact our support team at support@ispirer.com