Table of Contents
Ispirer Website
Ispirer Capabilities: Oracle Migration
Free Trial
Oracle: ODBC Driver Installation for Windows
To obtain the Oracle ODBC driver, you will have to install the Oracle Client on the machine where you will run the migration.
You can download the Oracle client, that includes ODBC Driver, from the Oracle official website.
You need to choose the appropriate version, download and run it.
Oracle ODBC Driver 11g
On the first page you need to choose the installation type. We recommend to install “Administrator” type:

Select languages on which this product will run:

Choose the Oracle base path and a location for storing Oracle software files:

Click “Finish” button and wait for the installation process is finished:

Oracle ODBC Driver 19c
Run the installer file.
At the first page you need to select radio button ‘Use Windows Build-in Account’ item:
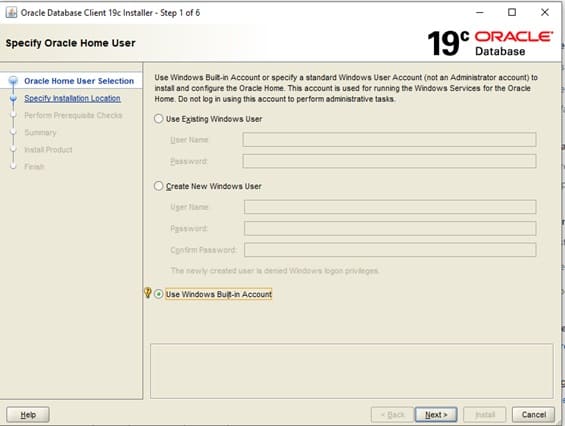
Select the Installation type ‘Administrator’ and check the Selected language.
Specify an Installation Location:
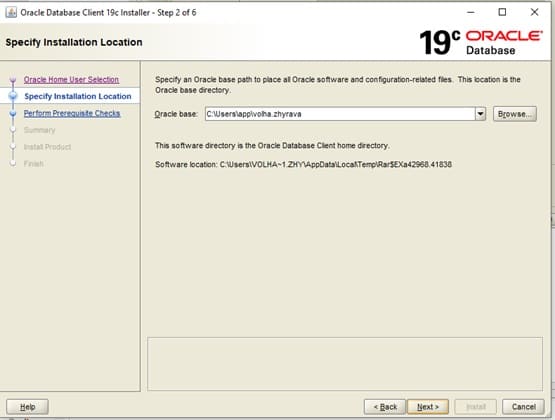
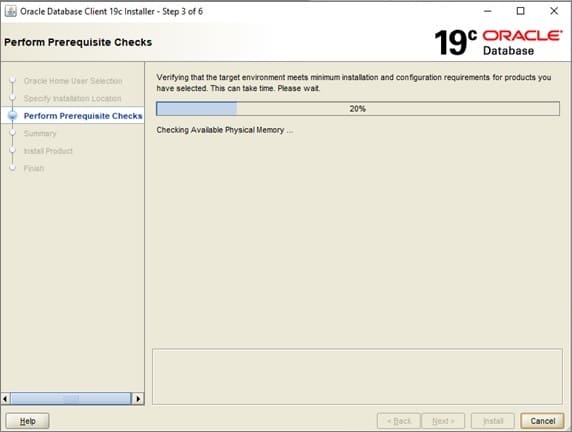
Perform Prerequisite Checks:
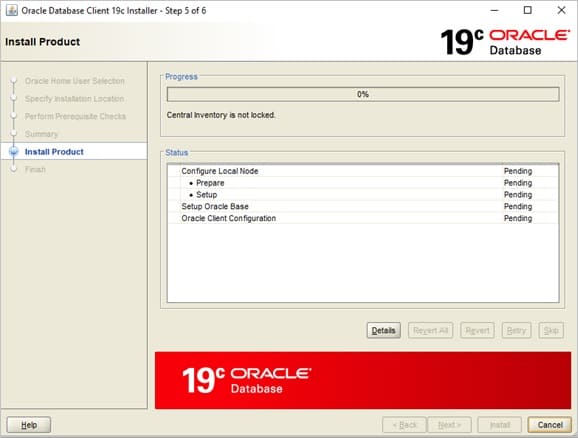
Run the installation:
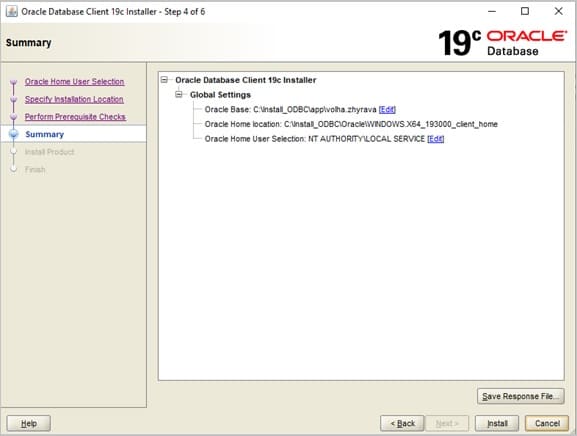
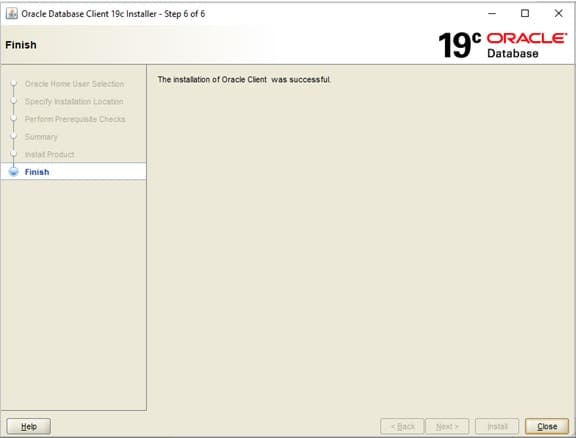
Close the installer:
Then you will need to set up the TNS Service names and ODBC connections, the way it is shown in the articles below:
Once the ODBC Driver installation is completed, you can use it to connect to the Source Database in SQLWays tool. More information about this process here.
Another way to obtain Oracle ODBC Driver is to use the ODBC Driver connection method in the SQLWays tool for Source technology.
- In the Home menu, click on Create New Project
- Find Source technology tab. Click on Source database dropdown menu and select Oracle.
- Choose Connection method ODBC Driver
- Click on Install a driver. Then there will be a new window - click Install here. On this step the latest available ODBC Driver for Oracle will be downloaded and installed to the machine, so you don’t need to do it manually. Usually it requires a couple of minutes.
- Once the downloading and installation process finish, you should proceed with providing the following
- Host
- Port
- Service name
- System View
- Username
- Password
- After all required fields are completed, click Test Connection.
If the connection is successful, the Source Technology section is marked with a checkmark, the Test Connection button label changes to Connected Successfully, and the user should proceed to fill in the information about the Target technology
If you have any other questions, please contact us: support@ispirer.com